How does this guide work?
This guide is written in Markdown, a text formatting language that can be used and displayed in a variety of contexts and applications. Markdown may look intimidating to someone who’s never used it before, but it’s really very simple. This document won’t include a guide on how to use markdown - Markdown Guide already has better resources that I could write. There are a variety of editors that you might use to write markdown, my favorite of which is Obsidian.
The pages I’ll write are written using Obsidian, compiled using Quartz, and published to a GitHub Pages site on the FRC-4459 organization. Anyone given admin permissions on the FRC-4459 GitHub organization should be able to modify the site.
Others who don’t wish to use obsidian and Node may find it easier to directly add and edit pages on the GitHub repo. For those in our team, this is as simple as using the buttons provided in the repo UI to edit/add markdown pages.
For those who aren’t on our team who may wish to contribute or edit, you can clone or download the repo, edit it, then open a pull request on the GitHub repo to request to have your changes added. The team and I will try to be attentive to your PRs and get them merged promptly! :)
Where is the website?
The actual website can be found from the GitHub repo by going into the sidebar on the right and finding and clicking on the site link.
Tagging & Structure
The only formatting rule I’ll enforce is requiring authors to use the YAML frontmatter of their notes to add a couple pieces of metadata. Those pieces are the title, a tag that describes what area the note falls into, the start date, and the author. You use frontmatter by placing two sets of --- at the very top of your note. An example is below.
---
title: Bumper Construction Guide
tags: #project/LGTR/mechanical
date: 03/11/2025
author: Lebron J.
---
Here’s what you need to know for each field:
| Key | Value |
|---|---|
| title | The title of the note. Can be anything. This will be displayed at the head of the page when published. |
| tags | A tag to categorize the note. You only have to include one tag. That one tag starts with #project/LGTR/, and after the backslash should be one of the categories laid down in the index in all lowercase. Examples include #project/LGTR/misc and #project/LGTR/mechanical. You can also use other tags to categorize your pages, like #guide, #resource, or anything else, but this isn’t required. |
| date | The date that the author started working on the file in MM-DD-YYYY format |
| author | The name of the main author of the note. If there are multiple authors, you can add each one by separating the names with commas. |
How do I download this guide?
Go to FRC-4459 on GitHub, find the “LGTR” repo, and clone it using Git. This should make a complete local copy of the guide on your computer. This is the best method because once you edit, you can add your files, commit, and then push the changes using Git.
Alternatively, you can navigate to the repo and just hit Code → Download ZIP. This will give you a zip file of the guide. This method works without Git, but also makes it much harder to add your changes to the repo.
How do I add content to this guide?
No matter what method you use, make sure you return to the index file and add a bullet point with a backlink (using double square brackets) to your note under the appropriate section. If you don’t, visitors to the website won’t be able to find it without the search bar. For example:
## Mechanical
- [[Bumper Construction Guide]]
Obsidian and Quartz
This is the preferred method for updating the guide, but also the most complex. Firstly, you need a Git setup with a personal access token or SSH key. Then you need to download the repo by typing one of the following:
git clone https://github.com/FRC-4459/LGTR.git # if you are authenticated using an access token or GitHub Desktop
git clone git@github.com:FRC-4459/LGTR.git # if you are authenticated using an SSH key
Or by using the Git desktop UI to clone the repo.
If you’re not part of our organization, you need to make a fork on your own GitHub account to upload changes.
Once you have a copy, install Node Package Manager on your computer. Go into your command line (PowerShell on Windows or Bash on Linux) and navigate to the repo you cloned by typing
cd "/path/to/the/repo/you/just/cloned/" # it will be different for everyoneYou should be in a folder called LGTR. Run the command
npm ito install quartz into the repo.
Finally, you can use Obsidian to go into the /content directory and edit to your heart’s content. If you don’t wish for a page to be published because you haven’t finished it, you can add draft: true to the frontmatter.
When you’re done editing, run
npx quartz syncThis will push your changes to the GitHub repo. On the main repo, a workflow should automatically update the website with your content within a couple minutes. If you are not part of our organization, update your own fork and then open a pull request on the main repo with your branch.
Directly on GitHub
Like the above method, if you’re not part of team 4459’s organization, you’ll have to create your own fork of the repo and make a pull request when you finish editing. Otherwise, the process is the same:
Go to https://github.com/FRC-4459/LGTR and navigate into the /content folder. 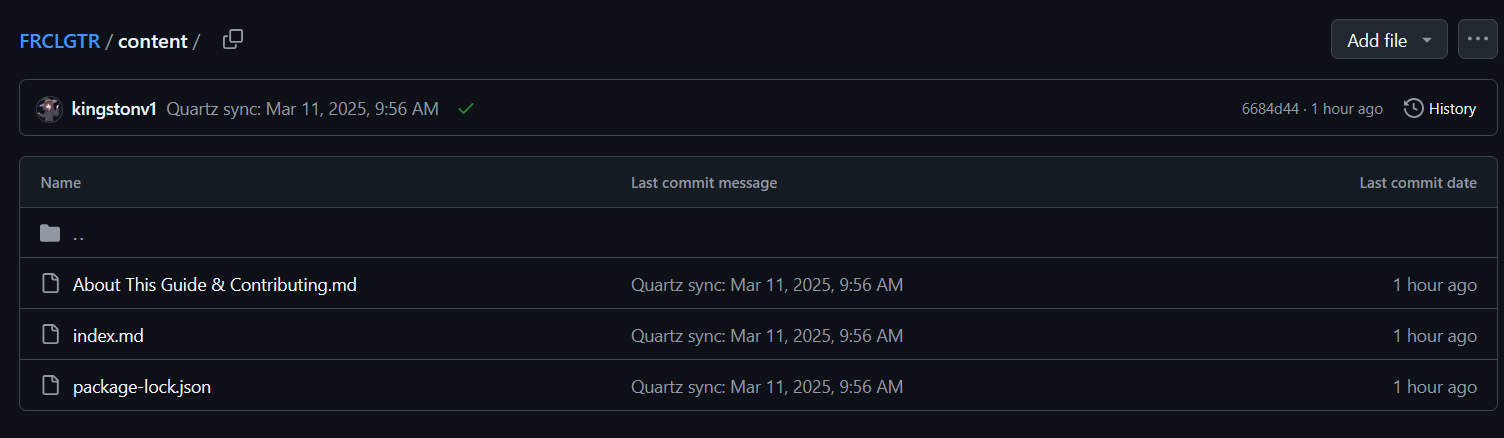
Click the “add file” button in the top-right and then click “create new file”.
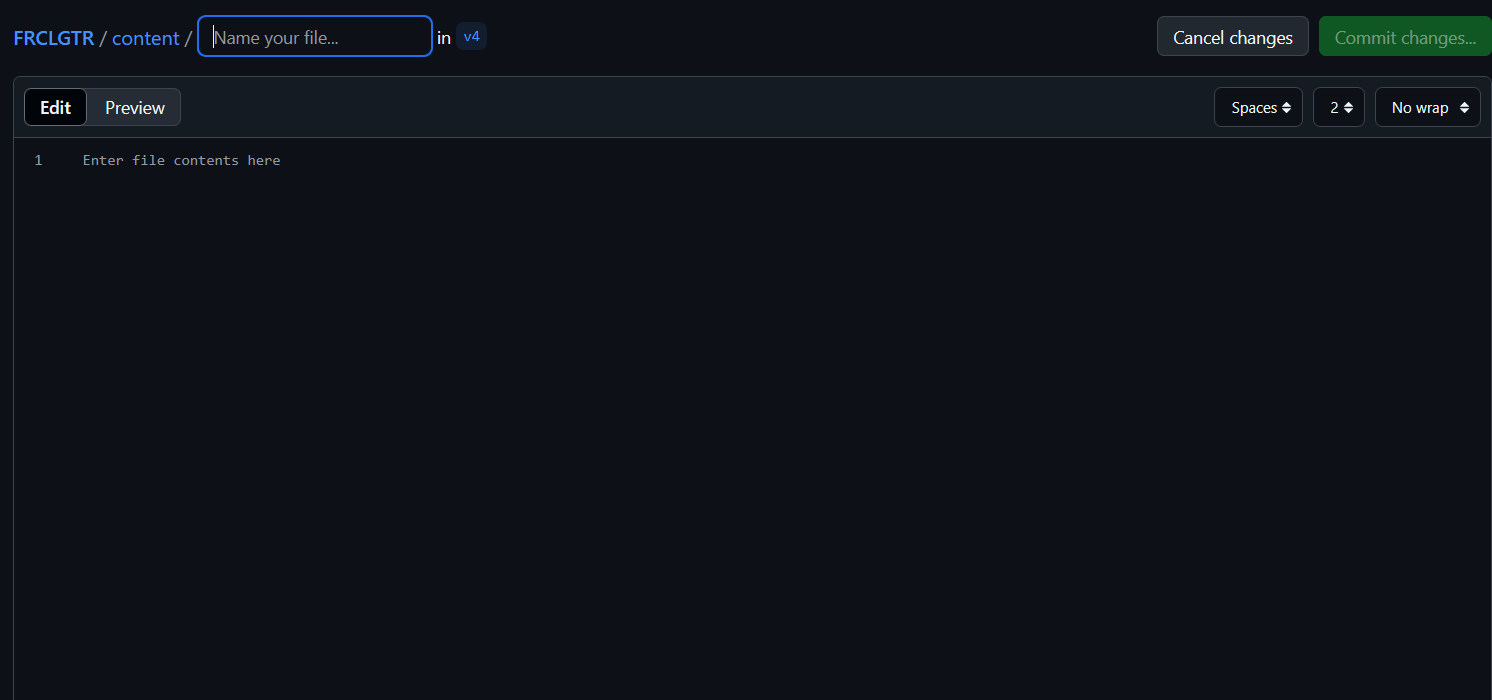 Name your file anything with a .md extension. Then, write markdown directly into the file content box. If you want to look at what the file looks like when rendered, just go to the “preview” pane. When you’re done, hit “commit changes” and leave a short (< 1 sentence) commit message describing what you wrote.
To make a pull request from outside of our organization, see Creating a Pull Request.